The purpose of the demo server is provide an introduction to the Liquid UI for iOS application. It traverses both native SAP interfaces and optimized Liquid UI dashboards for a consistent transaction. To uphold security standards, the submission of data to these interfaces is restricted.
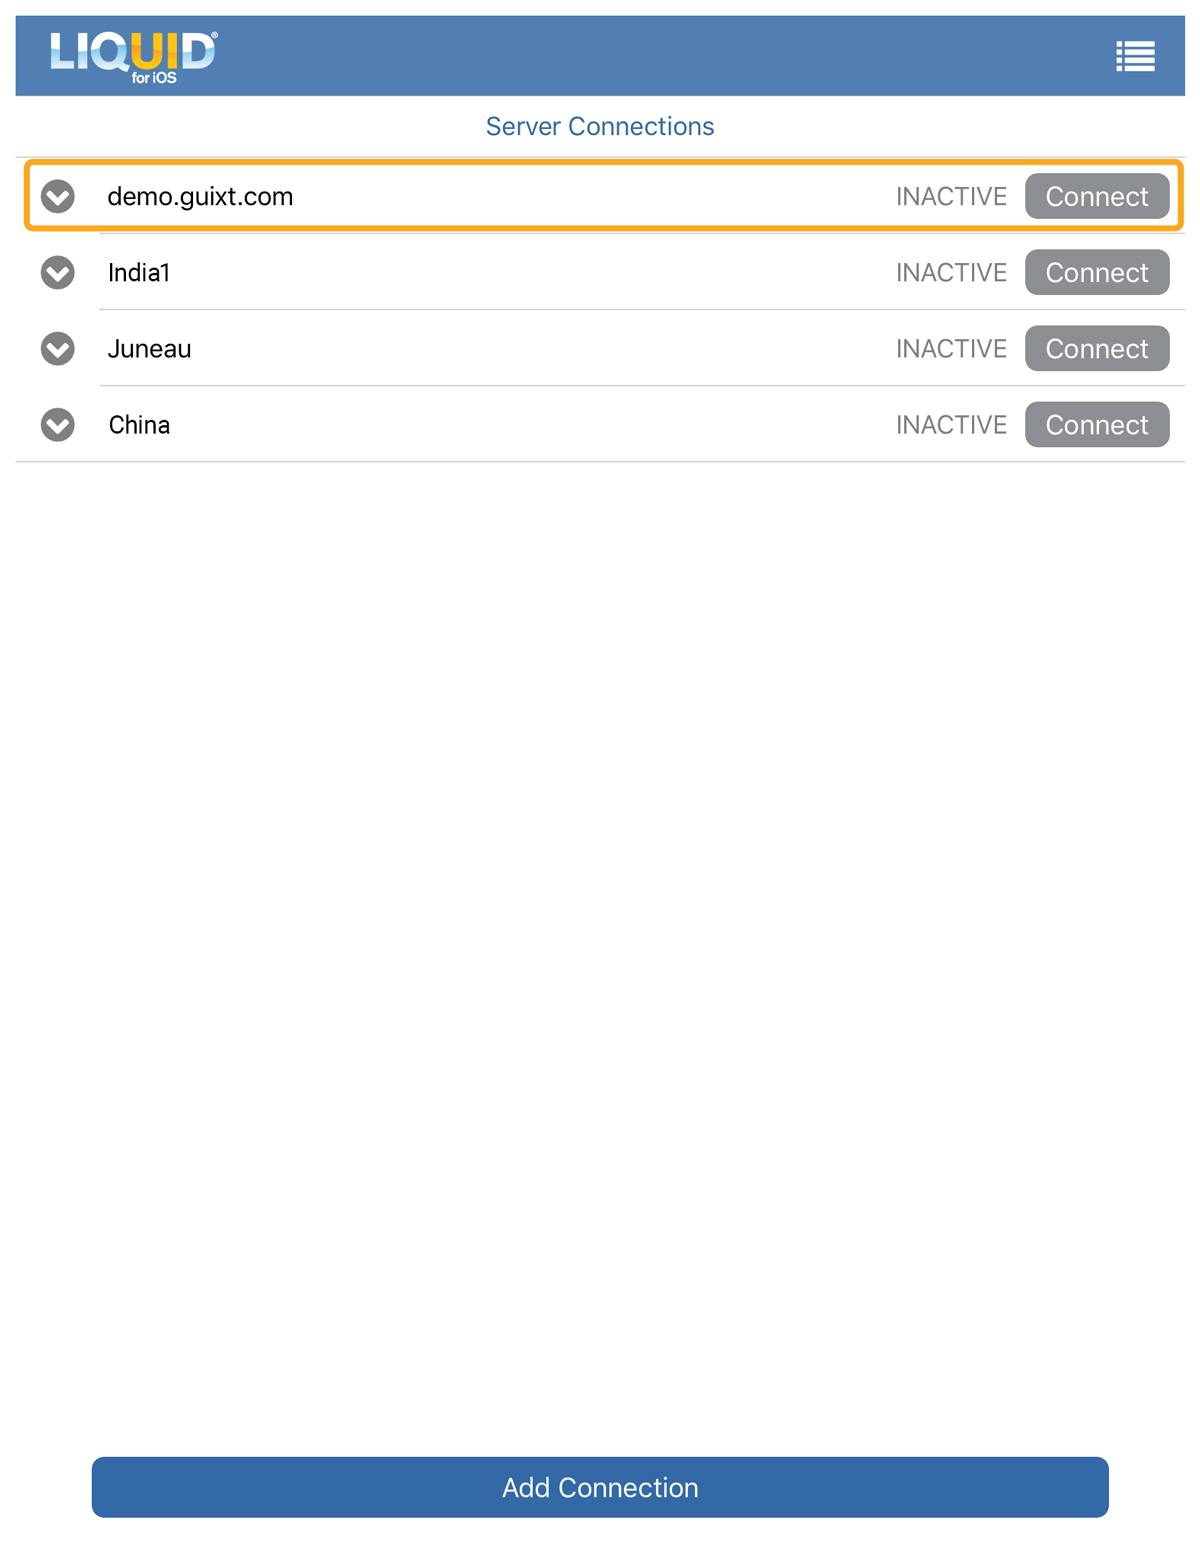
- Open the Liquid UI for iOS app and navigate to the Server Connections screen. Click on the demo.guixt.com connection, as shown in the image below.
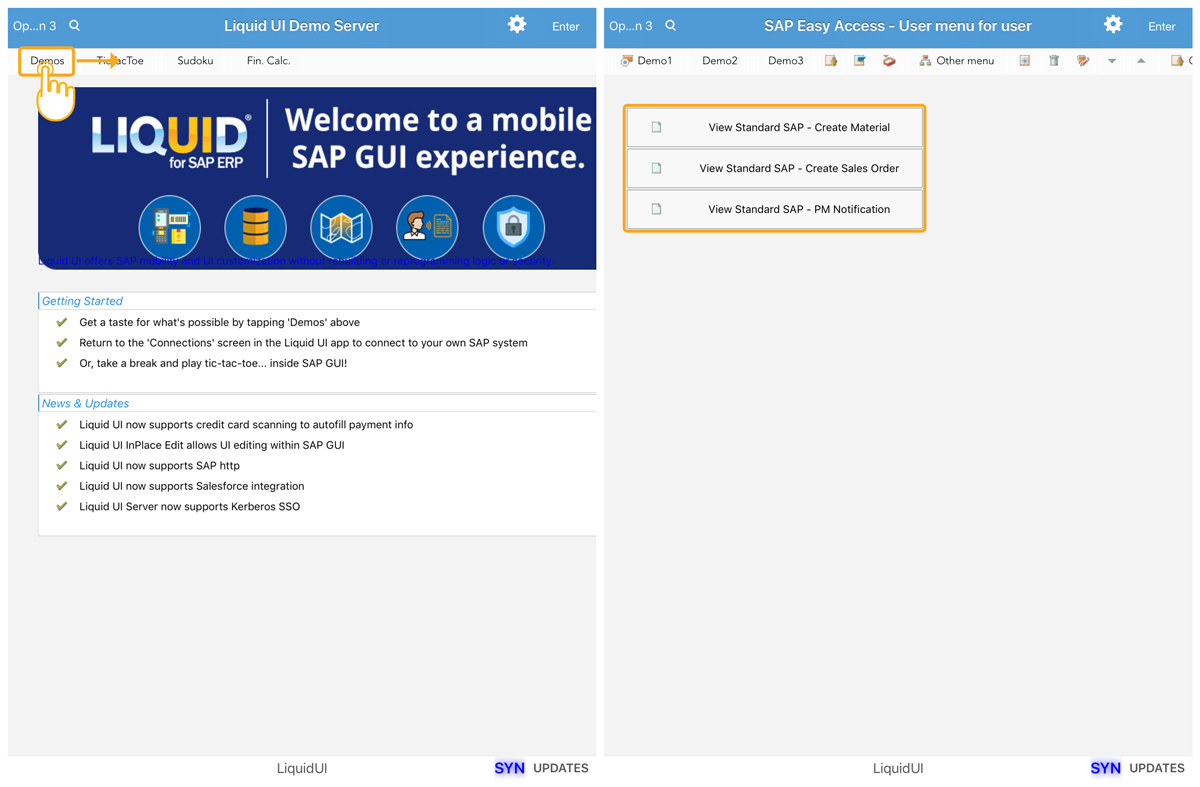
- Select Demos situated in the top left corner of the screen, which navigates you to the before SAP transactions as listed below.
- View Standard SAP- Create Material
- View Standard SAP- Create Sales Order
- View Standard SAP- PM Notification
Follow the below steps to walk through the Standard SAP screens and then the Liquid UI customized screens.
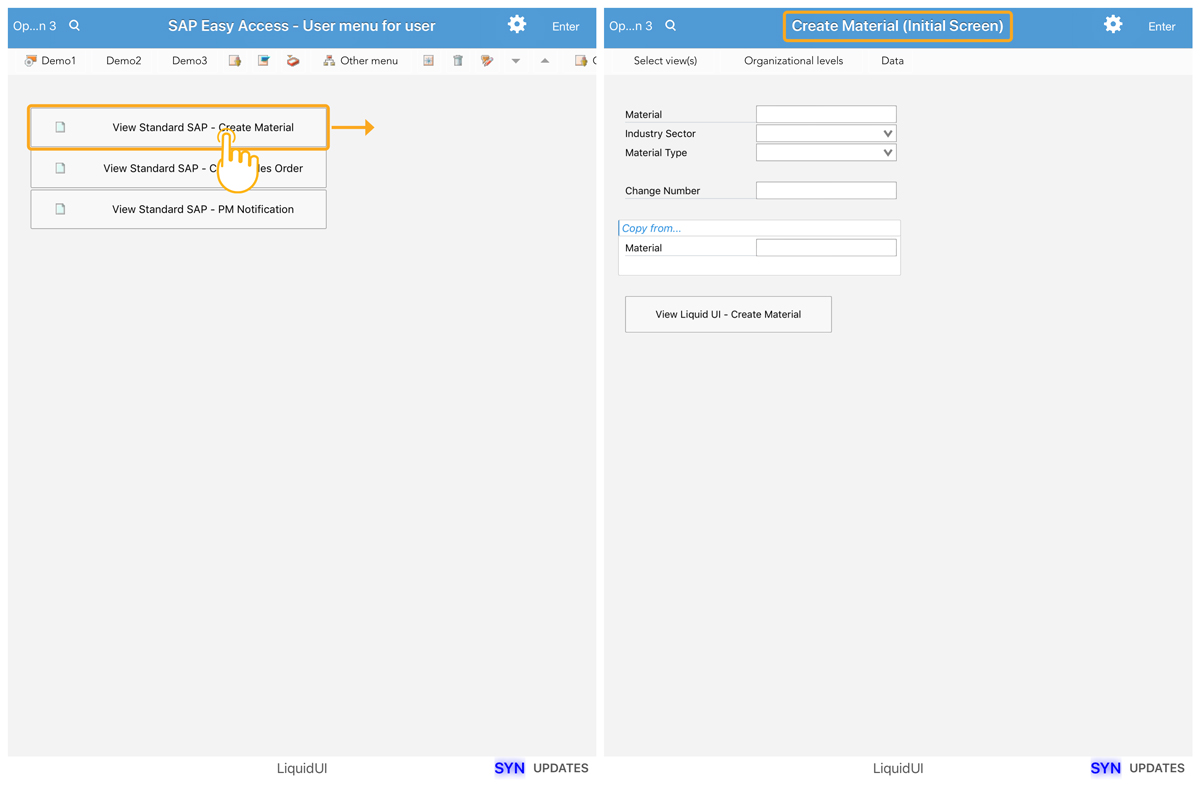
- Create Material Initial screen
- Click on View Standard SAP - Create Material, this will navigate you to the Create Material (Initial Screen), as shown below:
- Click View Liquid UI- Create Material to access the MM01 screen customized with Liquid UI.
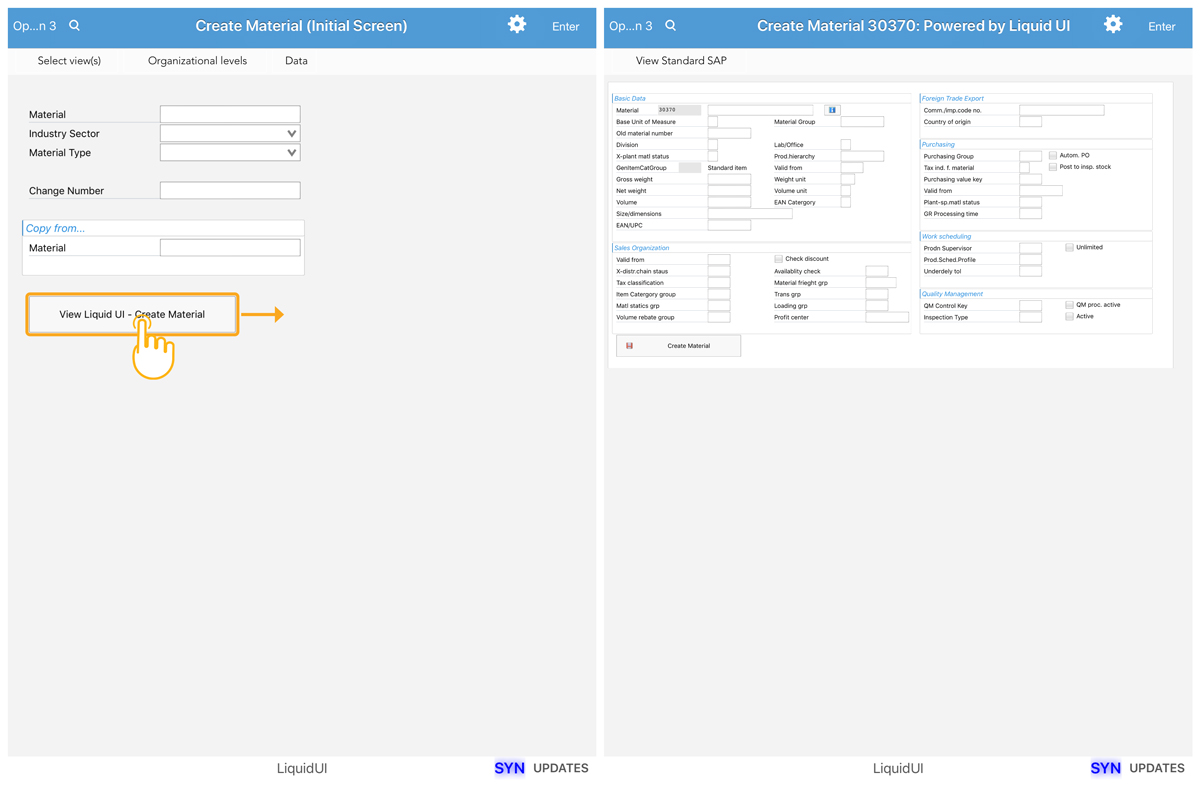
The customized screen was designed to simplify the Create Material process. The simplifications enable you to manage materials centrally and view, interpret, and analyze large amounts of work order data on a single screen.
- Click on View Standard SAP - Create Material, this will navigate you to the Create Material (Initial Screen), as shown below:
- Create Sales Order
- Click on the View Standard SAP - Create Sales Order. You will see the original Create Sales Order Screen but with an additional button labeled Liquid UI - Create Sales Order.
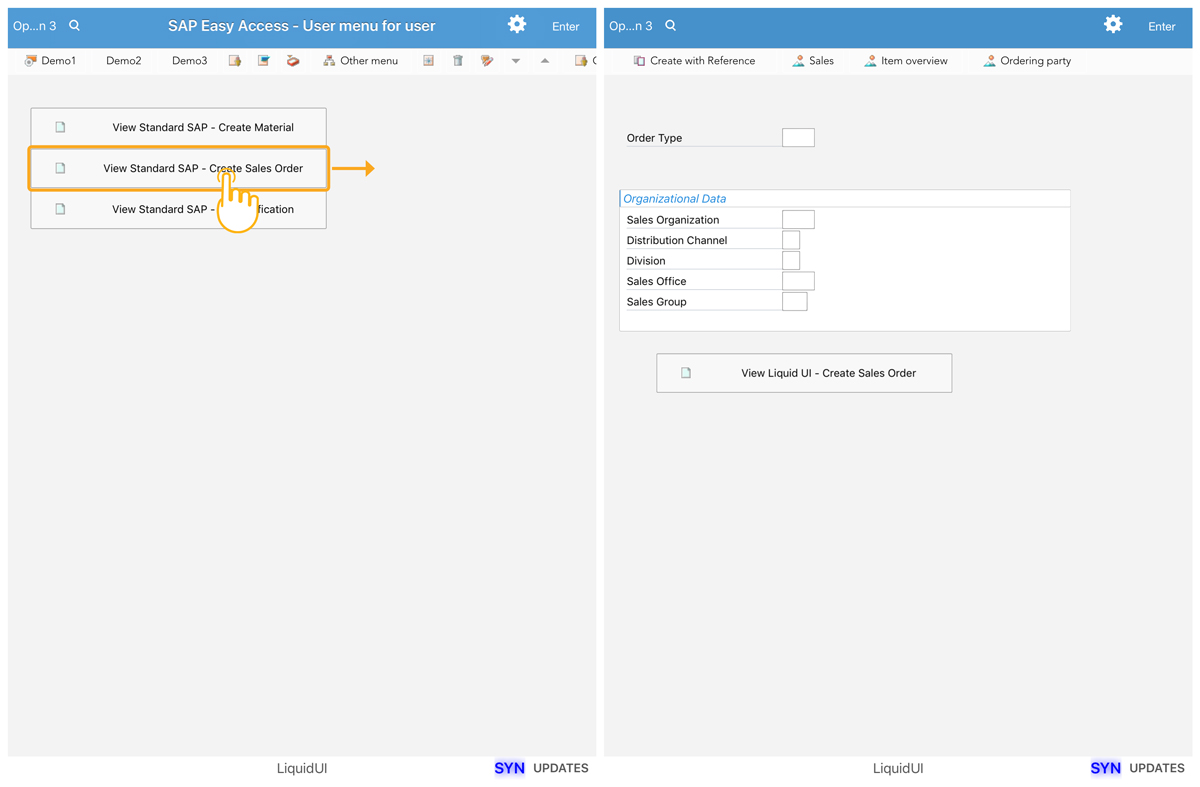
- Click View Liquid UI - Create Sales Order to access the Create Standard Order: Overview screen.
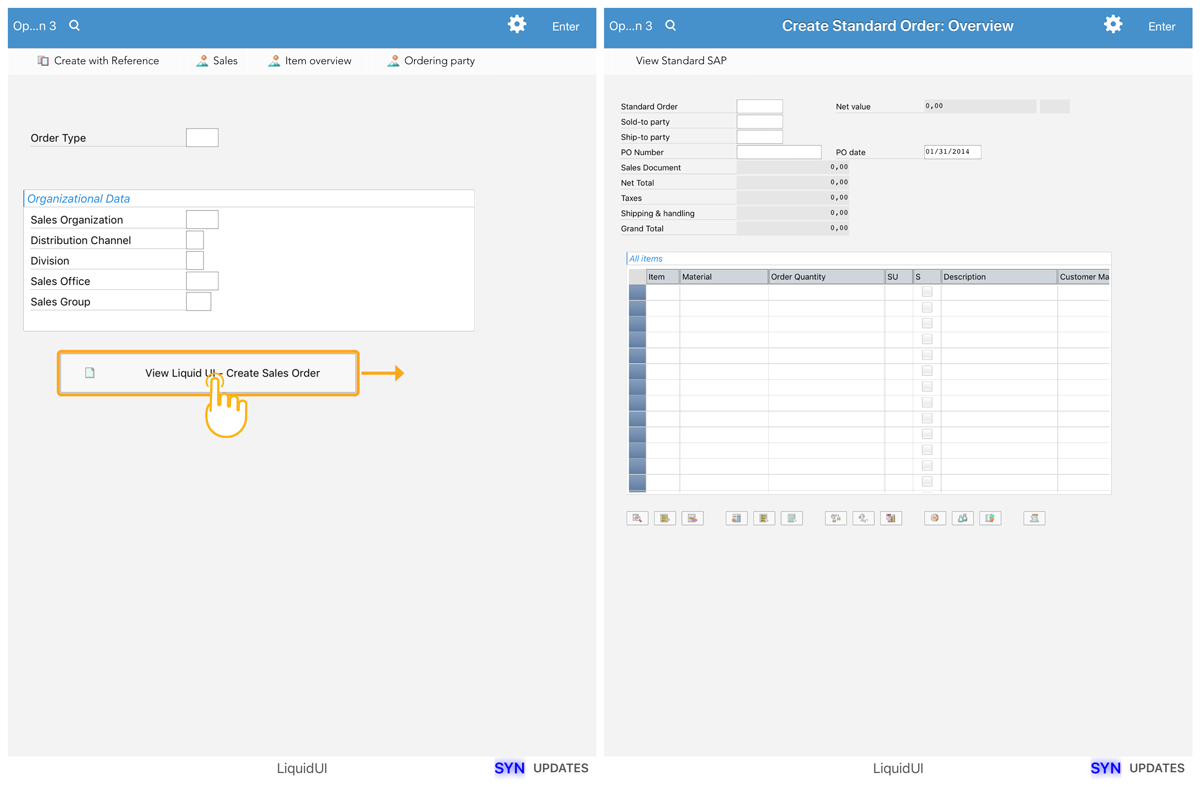
The Liquid UI customizations are designed to streamline SD transactions, accelerating work. Sales order management, creating quotations, generating sales orders, and billing the customer becomes easy.
- Click on the View Standard SAP - Create Sales Order. You will see the original Create Sales Order Screen but with an additional button labeled Liquid UI - Create Sales Order.
- Create PM Notification
- Click on the View Standard SAP - PM Notification, this will navigate you to the Create PM Notification: Initial Screen(Original SAP screen), as shown below.
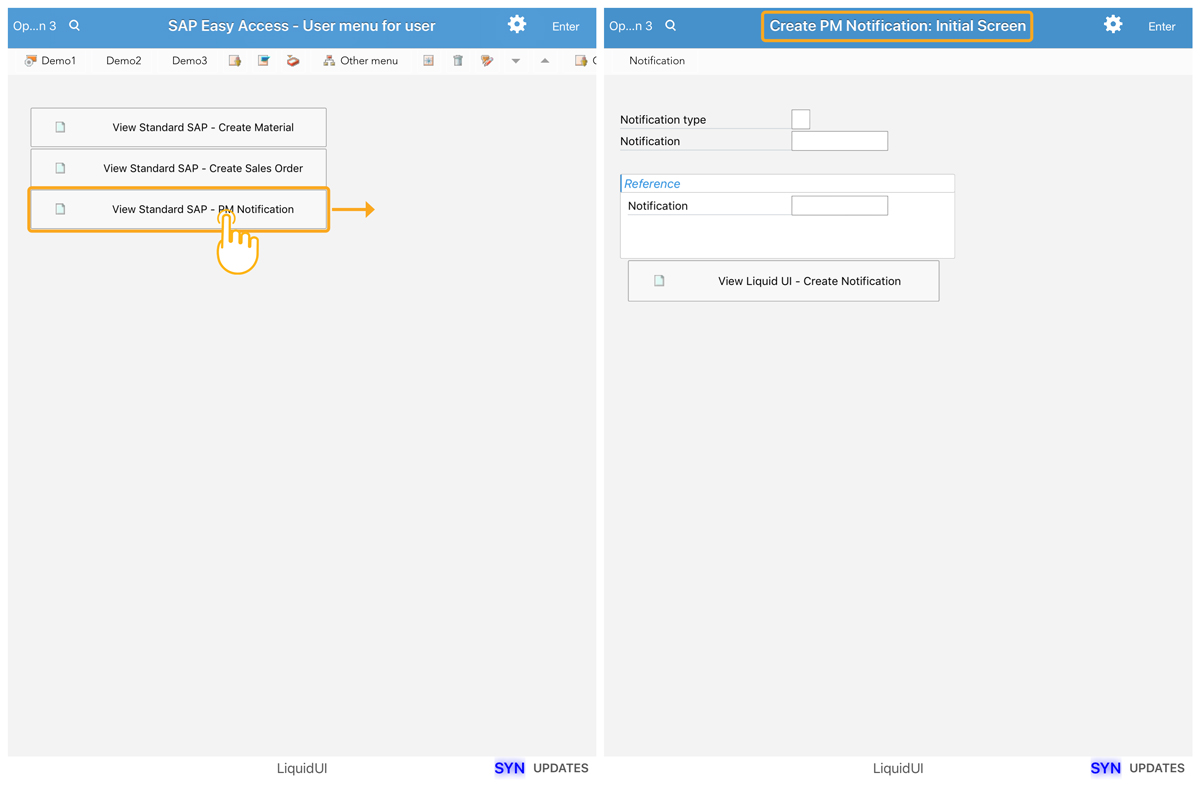
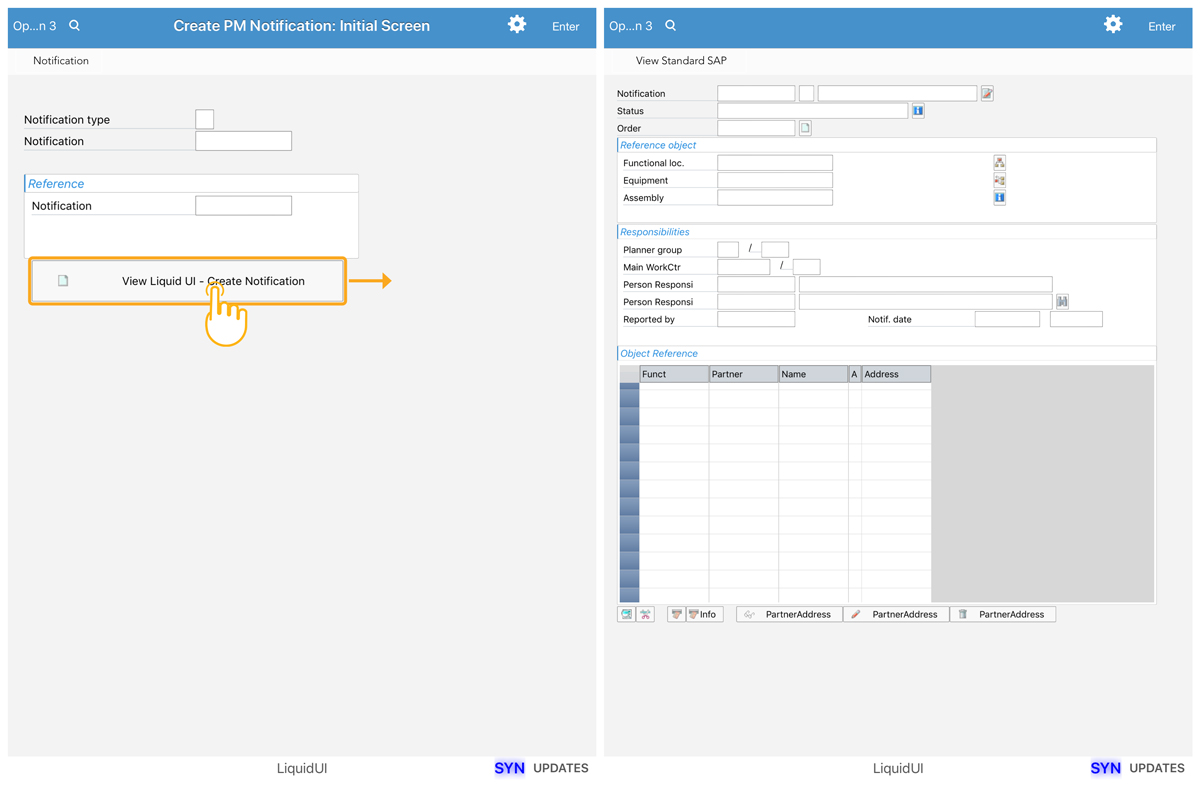
- Click View Liquid UI - Create Notification to navigate to the Liquid UI customized Create PM Notification transaction screen.
- Click on the View Standard SAP - PM Notification, this will navigate you to the Create PM Notification: Initial Screen(Original SAP screen), as shown below.
Liquid UI’s plant management customizations are designed to simplify work order management, notification, time entry, and enable corporate planners to organize and allocate work orders in SAP.
The customization allows employees to view, interpret, and analyze large amounts of work order data on a single screen.


